So, you want to make video lessons? It’s not as hard as it looks, honestly. Lots of people think you need fancy gear and a studio, but that’s just not true. You can get a good video lesson setup going with stuff you might already have, or with a few smart purchases. We’re going to break down how to get your video lesson setup looking and sounding good, without breaking the bank or your brain. Let’s get your teaching online!
Key Takeaways
- Pick a quiet spot for recording your video lesson setup.
- Good sound is super important for any video lesson setup.
- Make sure your lighting is decent so people can see you.
- Figure out what camera and mic work best for your video lesson setup.
- A simple plan makes putting together your video lesson setup much easier.
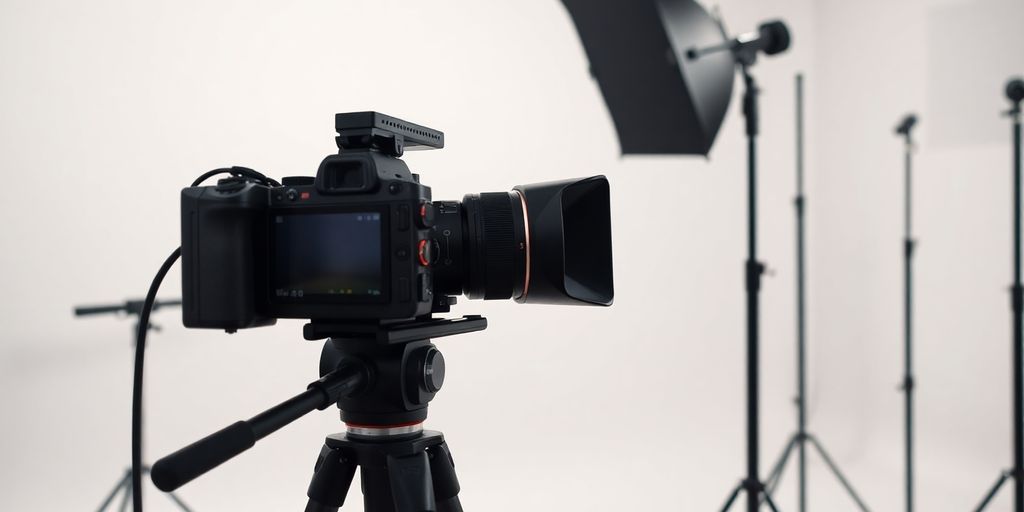
Setting The Stage For Your Video Lesson Setup
Getting your video lesson space ready is more important than you might think. It’s like setting the table before a nice dinner – it makes everything feel more special and put together. A good setup helps your students focus on what you’re teaching, not on distractions around you.
Choosing Your Perfect Recording Space
Think about where you’ll be filming. You don’t need a fancy studio, but a quiet spot is a must. Maybe it’s a corner of your living room, a spare bedroom, or even a closet if it’s big enough! The main thing is to pick a place where you won’t be interrupted by pets, family, or loud noises from outside. A consistent background also helps build familiarity with your audience.
Creating An Inviting Atmosphere
Once you have your spot, let’s make it feel welcoming. A little bit of personality goes a long way. Think about:
- Color: Bright, cheerful colors can be nice, but avoid anything too busy that might pull attention away from you.
- Decor: A plant, a bookshelf with interesting (but not distracting) books, or a piece of art can add warmth.
- Comfort: Make sure you’re comfortable too! If you’re fidgeting, your students will notice.
Remember, your background is part of your presentation. It should support your message, not compete with it. Keep it simple and clean.
Decluttering For A Professional Look
This is where we get serious about tidiness. Take a good look around your chosen space. Is there anything that doesn’t need to be there? Piles of papers, random objects, or messy shelves can make your video look unprofessional. Spend a few minutes clearing the space. Put things away, hide cables, and make sure the area directly behind you is neat. It really makes a difference in how polished your final video appears.
Capturing Crystal Clear Audio
Let’s talk about sound! Good audio is super important for video lessons. If people can’t hear you clearly, they’ll probably click away, no matter how great your visuals are. Making sure your audio is top-notch is half the battle.
Microphone Magic: Finding Your Voice
So, you need a microphone. Your computer’s built-in mic might work in a pinch, but it’s usually not the best. Think about getting an external mic. There are a few types:
- USB Microphones: These are really easy to use. You just plug them into your computer’s USB port, and you’re good to go. They’re great for beginners and usually offer a big step up in sound quality.
- Lavalier (Lapel) Microphones: These are those small mics you clip onto your shirt. They pick up your voice really well and don’t usually pick up as much room noise. They often plug into your phone or camera.
- Shotgun Microphones: These are more directional, meaning they focus on sound coming from one direction. They’re good if you want to really isolate your voice and block out other sounds, but you need to point them right at yourself.
Minimizing Background Noise
Nobody wants to hear your dog barking or the traffic outside during a lesson. Here are some tricks:
- Choose a Quiet Space: This sounds obvious, but it’s the most effective. Find a room with soft surfaces like carpets and curtains, as these absorb sound. Avoid rooms with lots of hard, flat surfaces that bounce sound around.
- Turn Off Noisy Appliances: Fans, air conditioners, refrigerators – anything that hums or whirs can be a distraction. If possible, turn them off while you record.
- Record at Quieter Times: If your environment is noisy, try recording when things are generally calmer, like early in the morning or later in the evening.
Remember, even small noises can be amplified by your microphone. Taking a few minutes to prepare your space can make a huge difference in how professional your final video sounds.
Testing Your Sound Levels
Before you hit record on your actual lesson, always do a sound check. You want your voice to be clear and loud enough, but not so loud that it’s distorted or
Achieving Stunning Visuals
Let’s talk about making your video lessons look good! People really do judge a book by its cover, and a clear, well-lit video makes a big difference in how seriously your students take your content. It’s not about having fancy equipment, but about using what you have smartly. Good visuals help keep your students engaged and make the learning experience much more enjoyable.
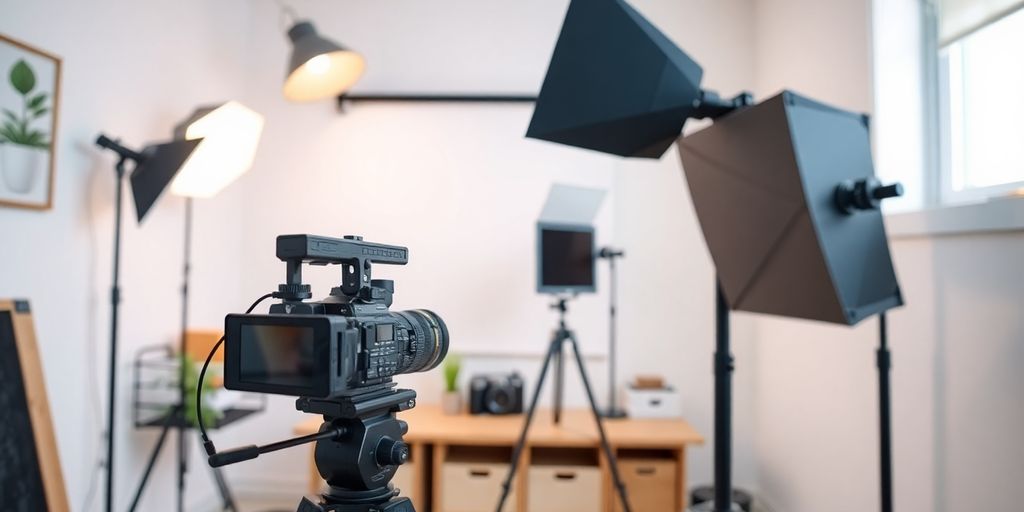
Lighting Your Way To Success
Lighting can seem tricky, but it’s actually pretty straightforward once you get the hang of it. The goal is to make sure your face and your teaching area are evenly lit, without harsh shadows.
- Natural Light is Your Friend: If possible, set up near a window. The soft, diffused light from a window is often the best and cheapest option. Just make sure the window isn’t directly behind you, or you’ll end up looking like a silhouette!
- Avoid Overhead Lights: Those bright lights directly above can cast unflattering shadows on your face. Try to position lights in front of you, slightly to the sides.
- The Three-Point Lighting Method: This is a pro trick that’s easy to learn. You need three lights: one main light (key light) to illuminate your face, a second light (fill light) to soften shadows from the key light, and a third light (back light) to separate you from the background. Even using a couple of lamps you already own can make a huge difference.
Think of lighting as painting with light. You want to create a pleasant picture for your viewers, not a harsh spotlight. Experiment with different lamps and their positions until you find what looks best.
Camera Angles That Engage
How you frame your shot matters a lot. You want to make your students feel like they’re right there with you, not like they’re looking up at you or down at your desk.
- Eye Level is Key: Position your camera so it’s roughly at eye level. This creates a more direct and personal connection with your audience.
- The Rule of Thirds: Imagine your screen divided into nine equal parts by two horizontal and two vertical lines. Try to place yourself or important elements along these lines or at their intersections. It makes the shot more balanced and interesting.
- Vary Your Shots (If Possible): If you’re demonstrating something, consider switching between a wider shot showing you and your workspace, and a closer shot focusing on the specific action you’re performing. This keeps things dynamic.
Ensuring A Sharp, Focused Image
Nobody wants to watch a blurry video. Getting a sharp image is all about your camera’s focus and stability.
- Manual Focus is Your Best Bet: While autofocus is convenient, it can sometimes hunt for focus, especially if you move around. If your camera or webcam allows, switch to manual focus and set it once. Make sure you are in focus before you start recording.
- Keep It Steady: A shaky camera is distracting. Use a tripod or a stable surface to keep your camera perfectly still. This makes your video look much more professional.
- Check Your Background: Make sure your background isn’t too busy or distracting. A clean, simple background helps keep the focus on you and what you’re teaching. Clutter can pull attention away from your lesson.
Essential Equipment For Your Video Lesson Setup
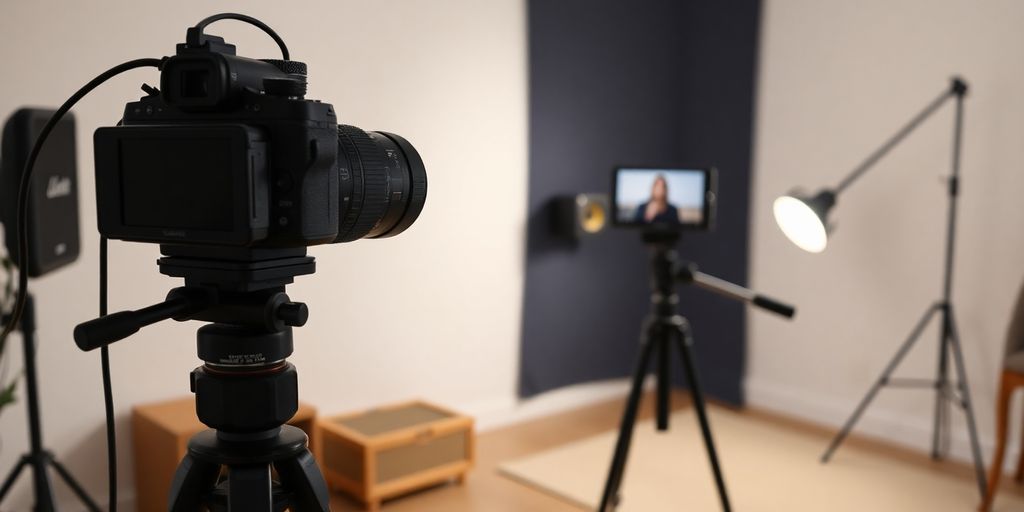
Alright, let’s talk about the gear that’s going to make your video lessons shine! You don’t need a Hollywood studio, but having the right tools makes a huge difference. Think of it as setting yourself up for success from the get-go.
Your Trusty Camera Companion
First up, the camera. Most modern smartphones shoot video that’s perfectly good for online lessons. Seriously, the quality is amazing these days! If you want to step it up a bit, a webcam that connects to your computer is a solid choice. Look for one with good resolution and a decent frame rate. Having a clear picture is half the battle. For those really wanting to get serious, a DSLR or mirrorless camera can offer more control and a more professional look, but don’t feel like you need one to start. You can always upgrade later!
The Right Microphone For The Job
Audio is super important. People will forgive a slightly less-than-perfect picture if the sound is clear, but bad audio? That’s a quick way to lose your audience. Built-in mics on cameras or laptops can work in a pinch, but they often pick up a lot of room noise. A simple lavalier mic (the little clip-on kind) is a fantastic starting point. They’re affordable and do a great job of picking up your voice directly. USB microphones are also a popular choice for computer-based recording, offering good quality without a lot of fuss. Finding your voice clearly is key.
Tripods And Stabilizers For Smooth Shots
Nobody likes a shaky video. It’s distracting and just looks unprofessional. A tripod is your best friend here. It keeps your camera steady, allowing you to focus on teaching instead of holding the camera. There are tons of options, from small desktop tripods to larger floor-standing ones. If you’re using a smartphone, a gimbal can give you super smooth, cinematic movement, but for most lesson setups, a simple tripod is all you really need to keep things stable. It’s a small investment that pays off big time in video quality.
Remember, the goal is to make your lessons easy to watch and understand. Good equipment helps you do just that without adding stress to your day.
Streamlining Your Video Lesson Setup Workflow
Getting your video lesson setup ready to go doesn’t have to be a chore. It’s all about having a good plan! Think of it like getting ready for a big presentation – a little prep work goes a long way to make sure everything runs smoothly.
Pre-Recording Checklist
Before you hit that record button, a quick check can save you a lot of headaches. It’s like having a recipe before you start cooking. Here’s a simple list to run through:
- Check your equipment: Make sure your camera, microphone, and lights are all powered up and working. A dead battery or a loose cable can really throw a wrench in things.
- Review your notes or script: Having a clear idea of what you want to say keeps you focused and prevents rambling.
- Tidy your background: A clean, uncluttered space looks professional and keeps your students focused on you, not on that pile of laundry in the corner.
- Test your audio and video: Do a short test recording to check sound levels and make sure the picture is clear. You don’t want to record a whole lesson only to find out your mic was muted!
A little bit of organization beforehand means you can spend more time actually teaching and less time fiddling with technology. It really makes a difference in how you feel about the whole process, too. When things are set up right, you feel more confident and ready to share your knowledge.
Quick Setup Tips
To make your recording sessions faster and more efficient, try these simple tricks. These small habits can really speed up your workflow.
- Keep your gear together: Store your camera, microphone, tripod, and any accessories in one place. A dedicated case or shelf makes grabbing everything much quicker.
- Create a default lighting setup: Once you find lighting that works well for your space, try to keep it consistent. This saves you from re-adjusting lights every single time.
- Have a dedicated recording spot: If possible, set up your recording area and leave it ready to go. This way, you can jump in and start recording without having to set everything up from scratch each time. You can even automate some of your video creation process using tools like JSON2Video.
Post-Recording Organization
Once you’ve finished recording, the work isn’t quite done. A bit of organization now will make your life much easier later.
- Save your files logically: Use clear file names that include the date and topic of the lesson. This makes it easy to find what you need later.
- Back up your recordings: Always make sure you have a backup of your video files. Losing a lesson you worked hard on is a terrible feeling.
- Review and plan edits: Take a quick look at your recording. Note down any small mistakes or areas that might need a trim. This makes the editing process much smoother.
Elevating Your Video Lesson Setup With Technology
Now that you’ve got your space looking sharp and sounding great, let’s talk about how technology can really make your video lessons shine. It’s not about having the fanciest gear, but about using tools smartly to connect with your students.
Screen Recording Software Essentials
If you’re teaching software, demonstrating a process, or just want to show your students exactly what’s on your computer screen, screen recording software is your best friend. These programs let you capture everything happening on your monitor, making it super easy to explain complex steps. Think of it like giving a live tour of your digital world.
- OBS Studio: It’s free and powerful, great for both recording and live streaming. You can set up different scenes and sources, which is handy if you want to switch between your webcam and screen recording.
- Camtasia: This is a paid option, but it’s really user-friendly and includes editing tools. It’s a good all-in-one solution if you want to record and polish your videos in one place.
- QuickTime Player (Mac) / Xbox Game Bar (Windows): Don’t forget the built-in options! They’re simple and can get the job done for basic screen recordings without needing extra downloads.
Choosing the right software often comes down to what you need to do. For simple demos, the built-in tools might be enough. If you plan on more complex editing or streaming, investing a little time in learning something like OBS can pay off big time.
Adding Engaging Visual Aids
Static videos can sometimes lose a student’s attention. Adding visual aids helps keep them engaged and makes your points clearer. This could be anything from simple text overlays to more dynamic graphics.
- Lower Thirds: These are those text boxes that pop up with a name or title. They add a professional touch and help identify speakers or key terms.
- B-roll: This is extra footage you can use to illustrate what you’re talking about. If you’re discussing a historical event, showing old photos or maps counts as B-roll.
- Animations and Graphics: Simple animations can highlight important information or break up longer talking segments. Think of arrows pointing to something on screen or a graphic showing a process.
Simple Editing Techniques
Editing doesn’t have to be scary! Even basic cuts and adjustments can make a huge difference in how polished your video feels. You want to remove those awkward pauses or mistakes without making it sound unnatural.
- Trim the Fat: Cut out any long pauses,
You’ve Got This!
So there you have it! We’ve gone through all the bits and pieces to get your video lessons looking and sounding great. It might seem like a lot at first, but honestly, once you get the hang of it, it’s pretty straightforward. Think of it like learning to cook a new recipe – a few tries and you’ll be a pro. Don’t stress too much about making it perfect right away. The most important thing is to just get started and share what you know. Your audience is waiting, and they’ll appreciate you sharing your knowledge, no matter what. Keep practicing, keep creating, and you’ll be making awesome video lessons in no time. Happy teaching!
Frequently Asked Questions
Where’s the best place to film my lessons?
Think about where you’ll film. A quiet spot with few distractions is best. Maybe a corner of your room or a study area. Make sure it’s a place you feel comfortable talking in.
How can I make sure my audio sounds clear?
Good sound is super important! Using a separate microphone, even a simple one that plugs into your phone or computer, makes a big difference. Try to record away from noisy things like fans or open windows.
What’s the best way to light my video?
Good lighting makes your video look professional. Natural light from a window is great. If that’s not possible, a lamp or two can help light up your face so viewers can see you clearly. Avoid having a bright light source behind you.
What basic gear do I need for filming?
You’ll need a camera (your phone often works great!), a microphone for clear sound, and something to hold your camera steady, like a tripod or even a stack of books. This keeps your video from shaking.
What should I do before I start recording?
Before you start recording, check your background to make sure it’s tidy. Test your sound and lighting. Having a plan for what you’ll say or show helps a lot too!
How can I make my video lessons more engaging with technology?
You can use programs that let you record your computer screen, which is handy for showing presentations or websites. Adding simple text or images can make your lessons more interesting for students. Basic editing can fix mistakes or add titles.